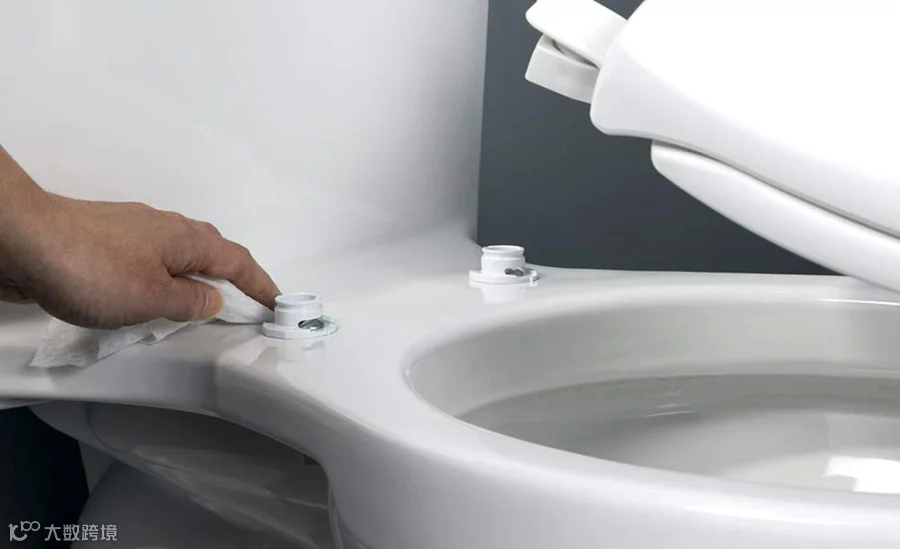
Before removal, clean the old seat as well as the toilet bowl and rim.
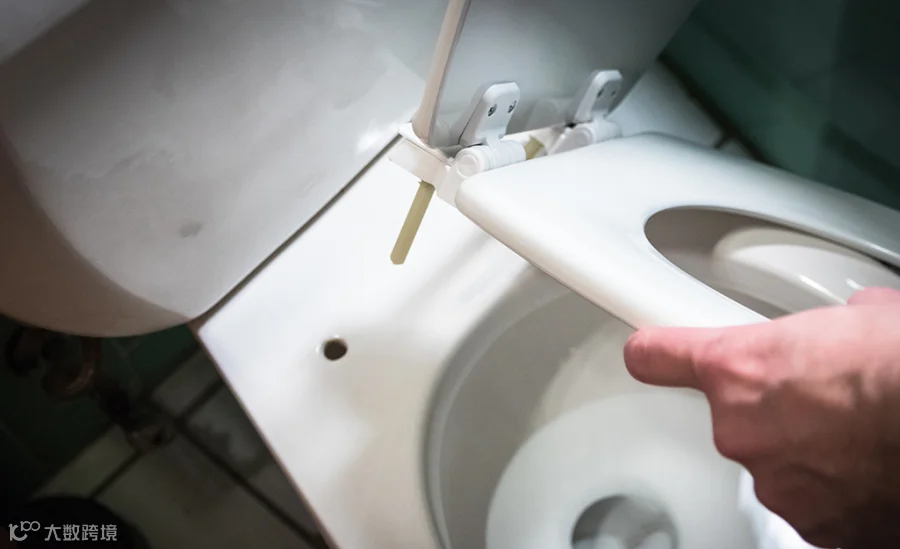
At the back of the bowl, locate the seat bolts that secure the seat to the bowl. Pop off the bolt covers, if required. A screwdriver may be necessary.
Look at the back of the bowl for the nuts that attach to the bolts. Loosen the nuts from the bolts by hand or with an adjustable wrench, turning counterclockwise. Remove the nuts from the bolts and washers, if they’re also attached.
Remove the bolts and lift the old seat and its hinges from the toilet. Recycle the old seat and any parts, if possible.


Remove the new seat from the packaging. The new seat should include all mounting hardware you need.
Place the new toilet seat lid atop the rim, with the new seat hinges aligned over the holes for the bolts.

Feed the bolts through the holes in each hinge and the toilet bowl, with the head of the bolt on top.
Attach the nuts to the other end of the bolts and tighten clockwise by hand and then with the wrench to insure a firm connection. If your hardware includes a pair of washers, put them on the bolts before the nuts.
If the hinges have plastic covers, snap them in place.
Open and close the lid and jiggle the seat to confirm that it’s secure.